When I finally arrived home I found the box waiting for me. Strangely, from the green tape on the box it looks like the box had been opened by the Department of Homeland Security, but thankfully none of the contents were missing nor seemed the worse for wear.

Opening the box revealed a catalog, the manual, the packing slip, and the two seed kits I had ordered: the mega cherry tomato kit and a custom kit of herbs. I wish I'd read Scott's comment on my last blog post in time, as I probably would have substituted the cherry tomatoes for another herb kit (as I've covered in previous posts, while growing tomatoes indoors is a nice novelty, it's difficult to get any kind of meaningful harvest). Still, since I still have my old Aerogarden VeggiePro (a.k.a. AeroGarden Extra), I figured I'd plant the tomatoes there and save the Ultra for my herbs (which I know I can get a lot of use out of).

The box itself was packaged very nicely.

I noticed right away that the base of the unit is a lot sleeker and rounder and less bulky than previous Aerogardens. And one other thing I noticed right away: there are once again SEVEN seed pods! I admit, I wasn't a big fan when they reduced the seed pods from 7 to 6, as I'd always have pods left over.
Here were the entire contents of the box:

As you can see, it comes with three grow lights, a base, a basin, a top, and a telescoping rod. It took me a while to figure out what the two "U" shaped plastic pieces were, but it turns out they're used to attach trellises for when your garden gets too large. The actual
Trellises are sold separately; I don't see why they couldn't have thrown in a couple here, but I guess they have to make money somehow.
Assembly was a piece of cake, even simpler than previous AeroGardens. You start by putting the telescoping rod into the base. The rod is simple to use, easy to hold, and not awkward like those old bulky chunks of plastic.

are sold separately; I don't see why they couldn't have thrown in a couple here, but I guess they have to make money somehow.Assembly was a piece of cake, even simpler than previous AeroGardens. You start by putting the telescoping rod into the base. The rod is simple to use, easy to hold, and not awkward like those old bulky chunks of plastic.

And then you put the basin in place.

Interestingly, they don't use the "water trickling into the seven seed pods" they did with the first 7-pod AeroGardens, nor do they use the "air stone" technique they used with the 6-pod versions of the AeroGarden. It does look like they've gone back to putting the pump in the basin itself, and it looks like the new pump system can deliver a lot more oxygen than before, which presumably will mean bigger and faster growth for plants. They are selling a special pump for the AeroGarden Ultra on their parts page, so they will be user-serviceable.
Next, you plug a small cable from the pump to the base, which at long last is a simple, easy-to-use plug. A notch in the back of the unit ensures that the cable can pass from inside to outside the unit without affecting your garden.

You install the grow lights by popping them into the top (no twisting!)

Push the top of the unit onto the telescoping rod until it "clicks" (four hands would be useful for this one).

And then plug the cable from the base into the top to power the lamps.

It quite literally took me more time to write out the steps than it actually took me to do them. Here's the completed AeroGarden Ultra, standing on my AeroGarden Shelf System.

Now if you observe carefully, you'll see that the unit doesn't quite fit onto the pre-molded shelves. I guess this is the price of progress, but it does point to how myopically engineered the shelf system was (and why I assume they've stopped selling them). Not only do they not conform to the form factor of the new AeroGardens, the shelves aren't adjustable, so I had to literally hack it to make it fit two tall Aerogardens vs. three regular ones. If I could go back in time, I would have thought twice about buying the shelves. Still, just a minor annoyance in an otherwise simple and delightful setup process.
Next is where the magic begins. Now with the old AeroGarden you had to do some convoluted steps to try to get your lights to go off at a certain time and on at a certain time. As you see in previous posts, you also had to keep track of the last time you put nutrients in, something I'd usually do fastidiously in the first few weeks but then completely lose track of later. Something else I didn't like about the old gardens was how messy refilling the unit could be--trying to get nutrients and water into the opening mouth often ended up with me watering the kitchen floor.
All of these things are wonderfully improved with the Ultra, and the key is the new control panel in front of the unit. It makes what was once a daunting task of keeping track of your garden easy, with iPhone-esque simplicity.
When you plug in the unit, you'll see the AeroGarden Ultra logo upon "boot up".

You then see a welcome message. I got a kick out of the fact that the font looks exactly like the font on my old beloved Apple //e from the 1980s.

Choosing "Quick Plant" then leads you through a step-by-step guide to planting your garden.

You start by entering the current time. From this point on, your AeroGarden will double as a kitchen clock, always showing the current time of day.

Next, you select the kind of seed pods you're growing:

Depending on what you select, you'll see a message that tells you precisely how many hours the lights will need to be on. It's much improved over the days when you had to search and search for this information hidden in a manual.

Next, I saw an alert to "ADD WATER NOW". You can ignore this message if you see it during setup, as you'll officially be prompted to add water later in the process. I think this message will come up any time the unit senses that its water level is too low.

Next, you can select the actual time of day that you want your lights to go off and on. Again, a vast improvement over the old days when you had to hold down buttons for such-and-such number of seconds at such-and-such a time of the day, and not even be sure if it worked. Here, you'll know exactly when the lights go off and on. By setting them to go on in the morning and off at night, you can always be sure that you come home to a room with lights, and it even makes a great burglar deterrent for when you're away.

You then get a message saying that setup is complete and you're ready to plant your garden.

There are literally three easy steps. The first is to (officially) fill your basin with water.

Unlike previous AeroGardens where you had to open the front cover and water would splash all over the place, now you can fill water into a convenient port in the front. It reminded me somewhat of the chlorine bleach dispenser in a lot of washers, and I appreciated it because the mouth is now so much wider and easier to pour things in. You just pop off the cover and pour. A lot less splashing, plus now you can very, very clearly see the fill line.

Next came the step to add nutrients.

Again, these are added through the port in front of the unit.
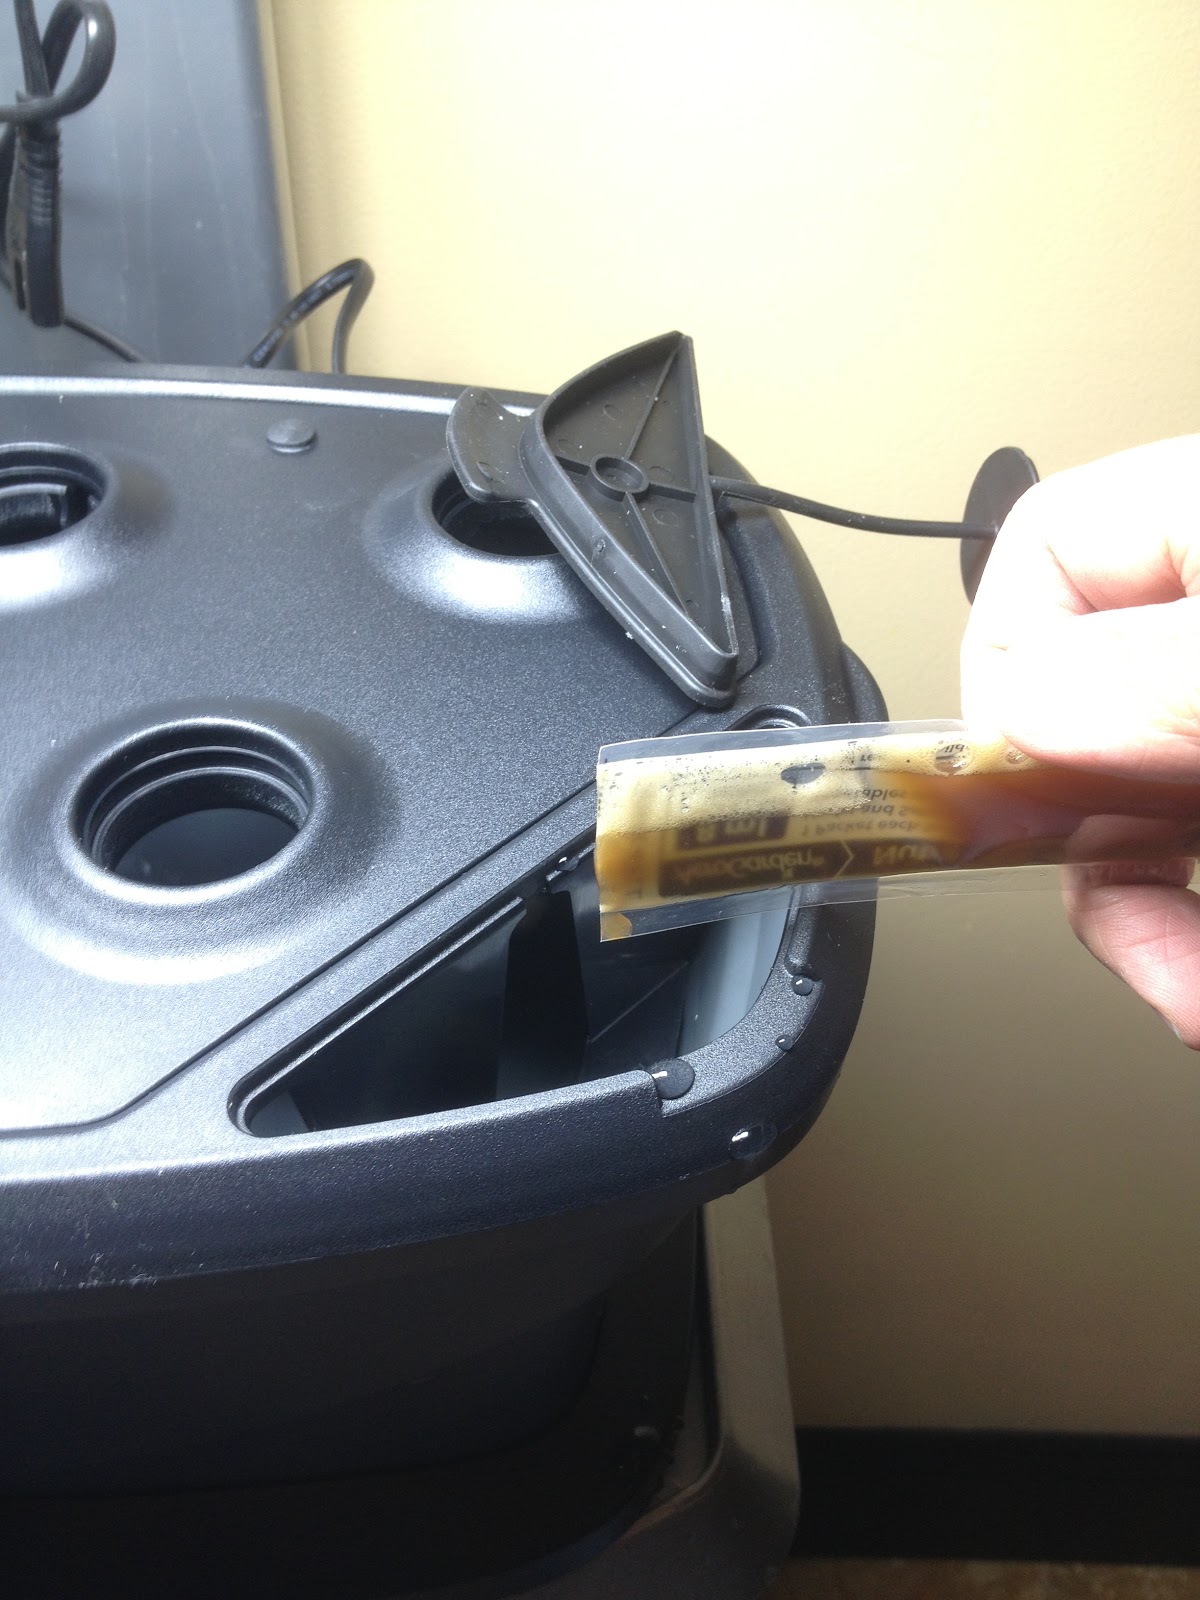
The instructions on the nutrient packet were a bit confusing; I really wish the seed kit had come with specific instructions for my particular kit (or the control panel could help), but I think to save money they decided to put all instructions together. Again, not a show-stopper, just a little bit of an inconvenience as I had to figure it out.
Finally comes the time to pop in your grow pods.

This is the same, fun experience as always. Just pop them in and put the cover on. My herbs consisted of parsley, two basils, thyme, sage, cilantro, and oregano.

Put the grow domes on the seed pods, and you're done.

You'll get a congratulations message.

From this point on, the control panel in front will tell you the date, the number of days the garden has been planted, and remind you of when to add nutrients. It's all presented on a backlit screen that's easy to read any time of day.
One thing I was most looking for were "tips" from AeroGrow, and I immediately got my first one.

Granted, I wish they could be a little more specific about what "Germination Mode" is, but from the context, I'm guessing it means that the pump will not run constantly for the first two weeks as the seeds are sprouting, but will start once the root systems are in place and need the oxygen from the pumps. I did appreciate this message, as I otherwise might have been trying to guess why the pump was not pumping (something I did with previous gardens a lot).
Clicking OK shows what the display will look like in general, with continuous display of the current time, days planted, and countdown to nutrient addition.

And voila, the finished garden.

Now for those who have read the blog, you know that I have a love-hate relationship with my AeroGardens. I've enjoyed many great harvests over the years and some klunkers, mostly due to my own carelessness in forgetting a feeding. I think the AeroGarden Ultra is perfect for someone like me who wants to garden indoors but may not have the discipline or the time to keep checking water, keep track of nutrient dates, and so on. This new system makes it amazingly simple.
Kudos to AeroGrow for some great improvements. But of course the proof will come when those herbs finally start popping up. I'll provide you a full update as that happens.
If after reading this you've decided you want one of your own, you can order your own AeroGarden Ultra here
 .
.
 , where you get free shipping on all orders and they have a Buy One Get One at 50% off on every item in the store. I ended up getting four replacement pumps for my Aerogarden 7s for about $7 a pump.

 feature on their Web site. It should be a good harvest this year! For those of you who are hanging on, stay tuned to some old school herb gardening!


 that AeroGrow was offering over Christmas. I ended up ordering a few things from them: a new set of grow lights and three seed kits.
 used to contain herbs I use like cilantro, parsley, and sage, now it contains things I never use like dill and lemon basil. And of course, if you look back on this blog you'll see that I pretty much exhausted things you can do with mint.


